- Tue 19 December 2017
- prototyping
Amongst others, I developed a code for simulating Newtonian fluids such as water during my Master studies. Choosing proper settings, one can easily generate large amounts of 3D data that resembles a turbulent flow in a box.
A snapshot of this data was captured and 3D printed. From that, a silicone mould was made and used to cast a resin version of the simulation data.
Thus, I am able to hold my abstract experiments from my studies in Theoretical Physics in my own hands. It took a long way from performing the simulation on a powerful super computer to creating a real-life silicone mould with which the data can be casted.
The steps that I performed are the following ones:
- Generate the turbulent data in a channel flow geometry. The boundary conditions are periodic in spanwise and streamwise directions. The wall-normal direction uses free-slip boundary conditions.
- The data is exported to the VTR format which is read by ParaView. From there, it is exported as STL. ParaView is used to find a nice iso surface in the time series.
- The raw simulation data is post-processed in Blender to generate a file that can be 3D printed.
- The post-processed STL is 3D printed.
- The 3D print is sanded and subsequently coated with a fill primer to hide the 3D print specific layer structure.
- A silicone mould is made from the 3D print which is finally used for the resin cast.
The following video visualizes the simulation from which the 3D printed data is taken. The flow in the simulation box is color coded where red values are large positive values in the flow direction and blue values are large negative values in the flow direction. The flow direction is the x coordinate. The gray surface at t=0 is the one that is 3D printed and resin casted here. The video shows the turbulent evolution of that surface in time.

The simulation data that has been used for the cast.
The video is a mp4 file and can either be downloaded or viewed directly in the browser.
The outcome
Below, the result of the cast is shown: It is the transparent piece which took two days to cure inside the silicone mould.
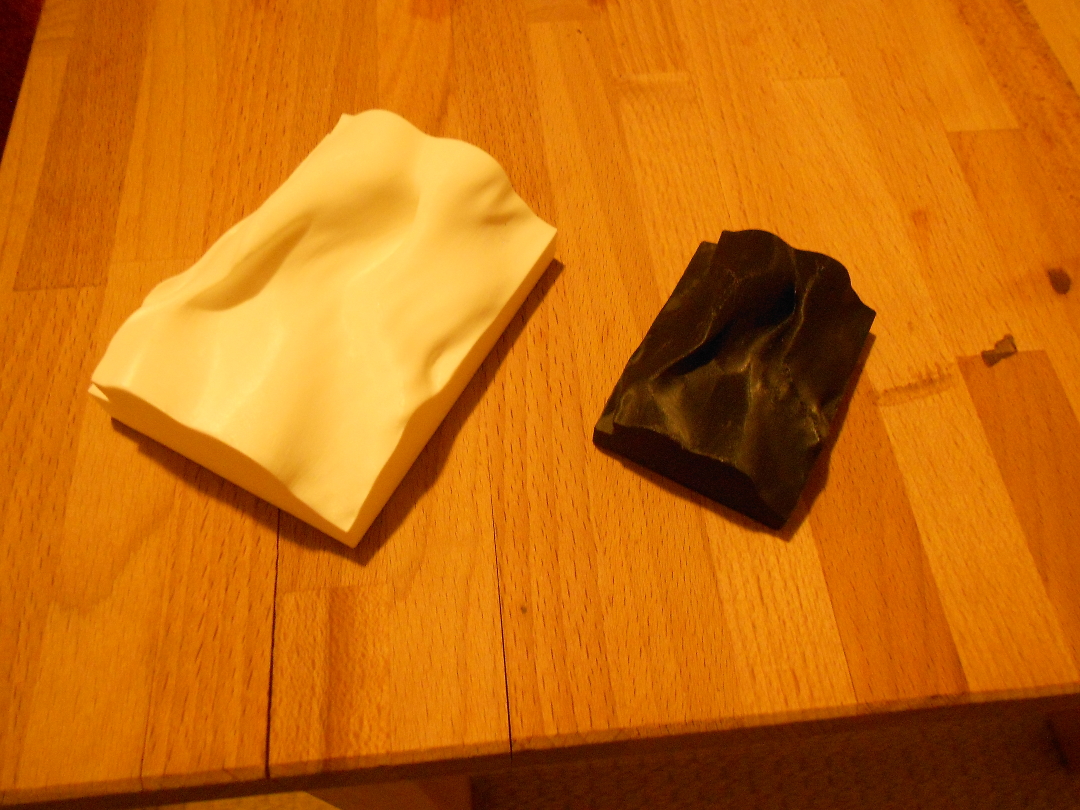
3D prints in two sizes, colors and resolutions.
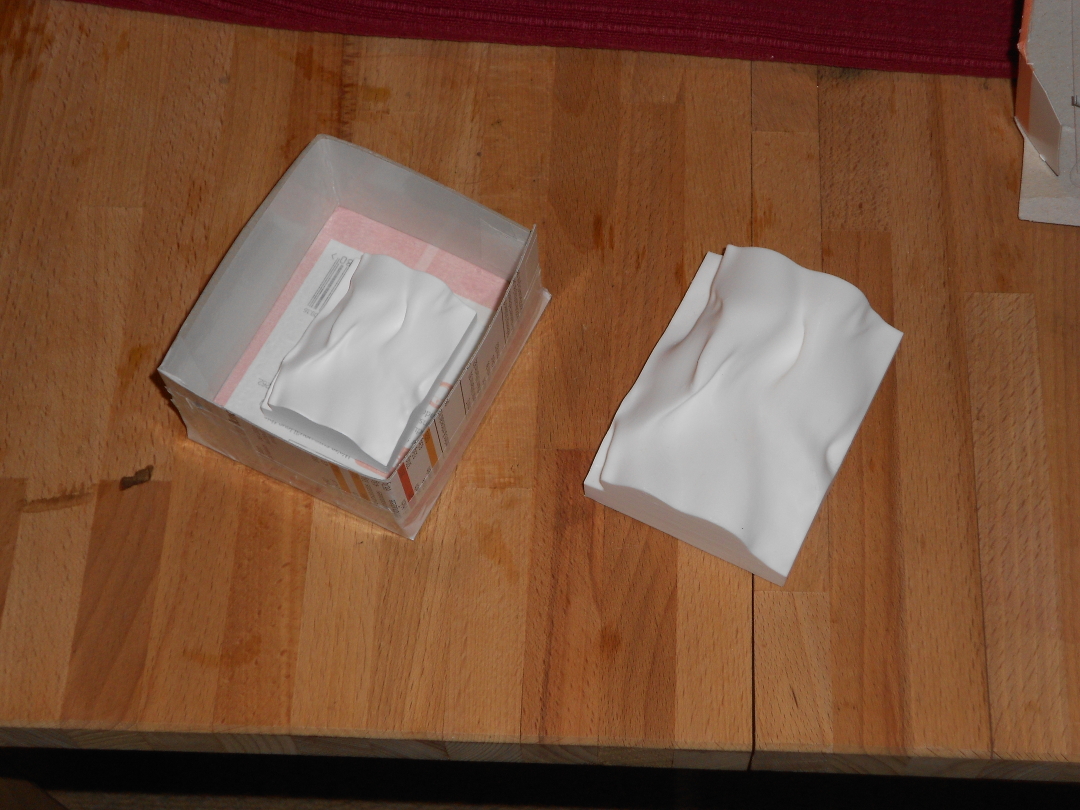
3D print with white fill primer inside its silicone moulding box.
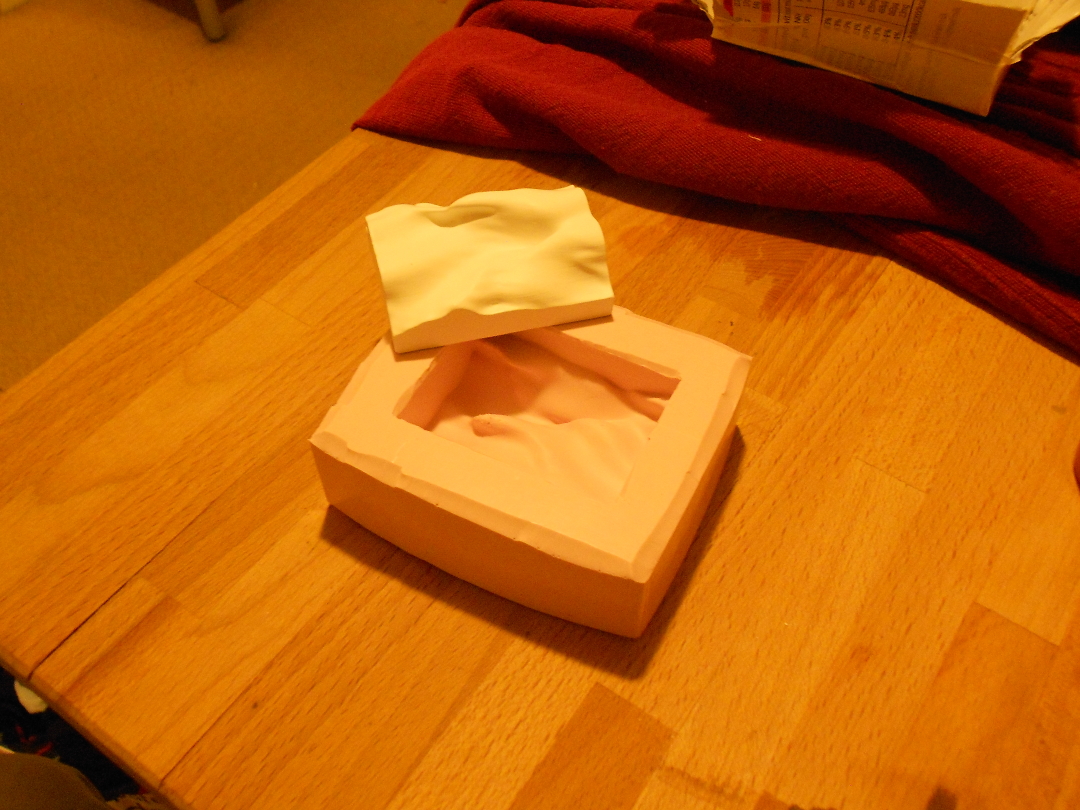
Silicone mould.
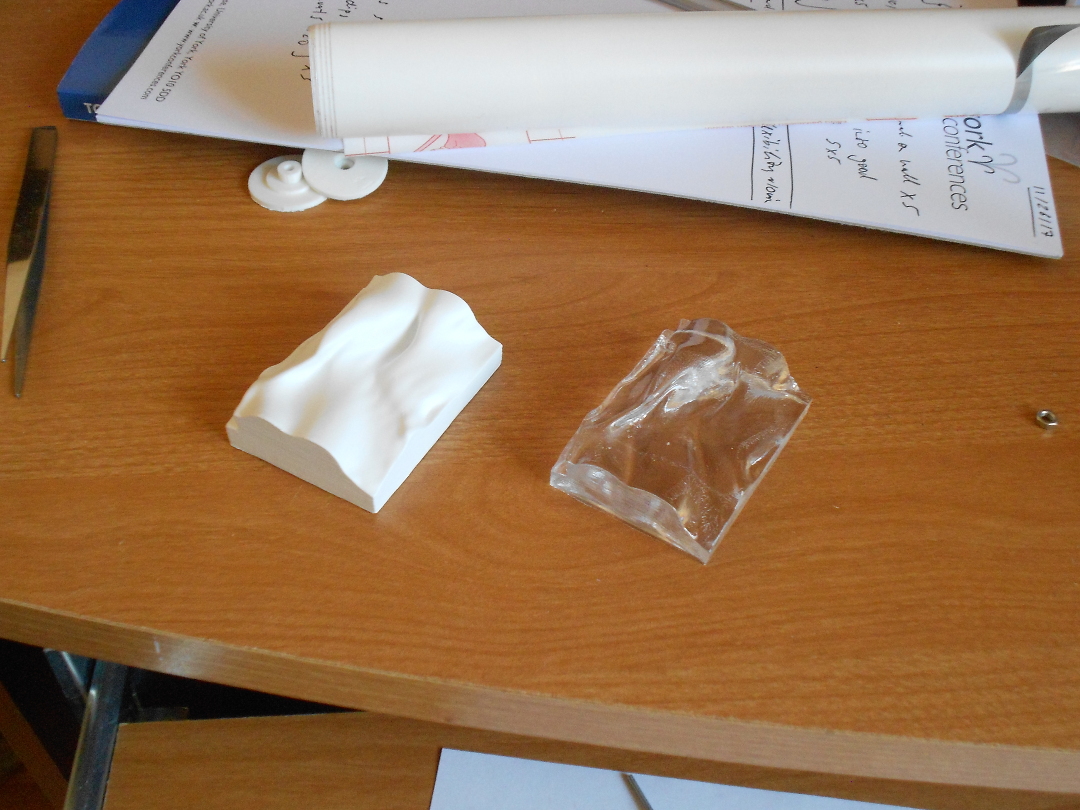
Resin cast and its template.
The details
The data is acquired by running the simulation that I wrote for a sufficiently long time in the incompressible Navier-Stokes equations’ turbulent regime at Re=400. My simulation is based on a pseudo-spectral algorithm so that one can reconstruct the full velocity fields from the spectral expansion coefficients at arbitrary spatial resolutions. The fields are reconstructed and saved as VTR files (using PyEVTK). These can be opened in ParaView to study how the fields evolve over time. After deciding upon one flow field and one of its iso surfaces, the spectral coefficients are used to generate a very high-resolution spatial field. This data is saved as a STL file.
The STL file is post-processed in Blender: The 2D iso surface is extruded downwards to obtain a true 3D structure that can be 3D printed. Furthermore, small artifacts or structures that are hard to 3D print are removed.
The model is 3D printed in black PLA. I tested multiple sizes and multiple vertical resolutions on an UltiMaker 3. After holding all the 3D prints in my hand I decided to pick the highest vertical resolution of 0.1mm and a size of 9mm x 6mm x 3mm. This model is sanded down and white fill primer is applied to hide the vertical layers. It turns out that this last step reduces the visible vertical layers very well. That procedure might be an alternative to using an acetone bath for ABS in case ABS cannot be used but a smooth surface is necessary, though.
A silicone mould is made in a small paper box. Using release spray is recommended to avoid the destruction of the silicone mould while removing the 3D print. Spending some time to prepare the 3D print is suggested to polish its look and feel because the silicone will capture all its details for all the following resin casts to create.
This silicone mould is finally used for a resin cast. One can use the silione mould many times. The casting should be done in a well ventilated room, believe me!
Acknowledgements
Cheers to the uCreate Studio from the University of Edinburgh which enabled me to test multiple prototypes of the 3D print in various sizes and resolutions. Thanks to their Mike Boyd for ideas on how to realize this project. This place is truely exceptional and an amazing opportunity for students to learn anything! I believe the uCreate Studio is a concept that needs to be copied from universities across the world.